What to do if the front camera is cloudy. Without these tips, your iPhone photos will remain poor. Cloudy camera on iPhone: check the condition of the case, protective glass or film
Despite high quality Apple devices may malfunction for some reason. This could be a simple device defect, a software glitch, or mechanical damage. In most cases, this problem can be solved.
One of the most problematic areas of the iPhone is the camera. Often users leave reviews that the camera does not work properly and the pictures turn out blurry. It is worth finding out the reasons and ways to solve such problems.
How to identify problems with the camera?
With every new one iPhone model The manufacturer is improving the camera's characteristics, but there are a number of cases where, for certain reasons, the operation of this element does not meet the user's expectations, so the camera takes poor pictures. Among the most common problems are the following:
- the camera is blurry and you can’t take a clear shot;
- dark or light spots appear in the photographs;
- there are chromatic aberrations and other defects in photographs;
- violation of the orientation of the images;
- dark screen when the camera is working.
These problems do not necessarily indicate a technical problem.
Reasons for the appearance of cloudy images
Blurry photos taken on an iPhone can upset even an optimist. No one expects the pictures to be of poor quality when purchasing new model devices from this manufacturer. The causes of this defect are often related to incorrect work autofocus
The problem may occur with every snapshot or occur periodically. Autofocus controls both smartphone cameras. Among the reasons leading to autofocus problems are:
- dirty camera lens, small particles getting under the lens;
- autofocus captures the protruding edge of the case;
- the presence of a magnet on the case also leads to focusing failure;
- software settings are set incorrectly;
- failure due to mechanical shock or moisture.
How can you solve the problem with blurry photos yourself?
If most of the reasons that are not technical can be eliminated independently, then in case of a mechanical breakdown you need to contact a service center. Try the following to try to resolve the issue:
- wipe the lens with a microfiber cloth;
- remove the cover;
- manually adjust the focus setting;
- close applications that use the camera;
- free up storage space;
- update the iOS version;
- do a factory reset, saving your data first.
You can also enter on the Apple website serial number device to check if it is in the database of defective copies. If these steps do not help, then contact a specialist.
A professional answer to a pressing question.
At some point, iPhones, due to their compactness and mobility, replaced cameras for many. With every new one iPhone generation The quality of shooting on Apple smartphones is constantly improving, approaching SLR cameras. However, it often happens that iPhone photos suddenly become insufficiently clear or blurry. Even setting the focus manually, it is not possible to achieve the same clarity. What to do?
Why does the iPhone camera become cloudy and stop focusing and what to do about it
1. The first and simplest reason is a dirty camera lens. In this case, everything is elementary - clean the camera lens. A dirty or dirty camera glass can interfere with focusing! We do this with a special cloth for wiping the lens.

2. True, in most cases, rags remain powerless. Dust and dirt can get into the iPhone body and accumulate between the lens and the protective glass of the camera. In this case, you cannot do without disassembling the phone. Note that most often the problem occurs on the iPhone 5, iPhone 5s and iPhone SE - the most popular iPhone models in Russia. Conclusion - we turn to specialists, or we disassemble the iPhone ourselves with the help of ours and carry out cleaning.

3. Scratches on the camera glass also rarely interfere with focusing. Scratches also greatly scatter and blur the focus and the picture as a whole. Here it is necessary to replace the lens glass in service center! The problem often appears on iPhone 6/6 Plus and newer ones, since on these models the camera protrudes from the body, often coming into contact with various, including sharp, objects. 
4. The saddest reason why pictures on an iPhone turn out blurry is that dust gets on the lens matrix or the zoom of the camera itself is damaged. There is only one solution to these problems - replacing the camera in the service! 
Despite the high quality of Apple technology, malfunctions are possible for some reasons. This could be a simple device defect, a software glitch, or mechanical damage. In most cases, this problem can be solved.
One of the most problematic areas of the iPhone is the camera. Often users leave reviews that the camera does not work properly and the pictures turn out blurry. It is worth finding out the reasons and ways to solve such problems.
How to identify problems with the camera?
With each new iPhone model, the manufacturer improves the camera characteristics, but there are a number of cases where, for certain reasons, the operation of this element does not meet the user’s expectations, so the camera takes poor pictures. Among the most common problems are the following:
- the camera is blurry and you can’t take a clear shot;
- dark or light spots appear in the photographs;
- there are chromatic aberrations and other defects in photographs;
- violation of the orientation of the images;
- dark screen when the camera is working.
These problems do not necessarily indicate a technical problem.
Reasons for the appearance of cloudy images
Blurry photos taken on an iPhone can upset even an optimist. No one expects the pictures to be of poor quality when purchasing a new device model from a given manufacturer. The causes of this defect are often related to incorrect autofocus operation.
The problem may occur with every snapshot or occur periodically. Autofocus controls both smartphone cameras. Among the reasons leading to autofocus problems are:
- dirty camera lens, small particles getting under the lens;
- autofocus captures the protruding edge of the case;
- the presence of a magnet on the case also leads to focusing failure;
- software settings are set incorrectly;
- failure due to mechanical shock or moisture.
How can you solve the problem with blurry photos yourself?
If most of the reasons that are not technical can be eliminated independently, then in case of a mechanical breakdown you need to contact a service center. Try the following to try to resolve the issue:
- wipe the lens with a microfiber cloth;
- remove the cover;
- manually adjust the focus setting;
- close applications that use the camera;
- free up storage space;
- update the iOS version;
- do a factory reset, saving your data first.
You can also enter the serial number of the device on the Apple website to check if it is in the database of defective copies. If these steps do not help, then contact a specialist.
Total Apple service center has everything necessary equipment to solve the autofocus problem within 30 minutes. We use only original parts and provide a 3-year warranty on repairs. Diagnostics are free, and the office is conveniently located in the center of Moscow.
Let me remind you of several capabilities of a standard camera.
Turned it on and took a photo- such a scenario for working with iPhone camera works in almost any situation. And that's why I always use only the standard iOS application.
But in order to improve the quality of your pictures and diversify them, you shouldn’t forget about a couple of features.
1. Turn on the grid and read about the rule of thirds
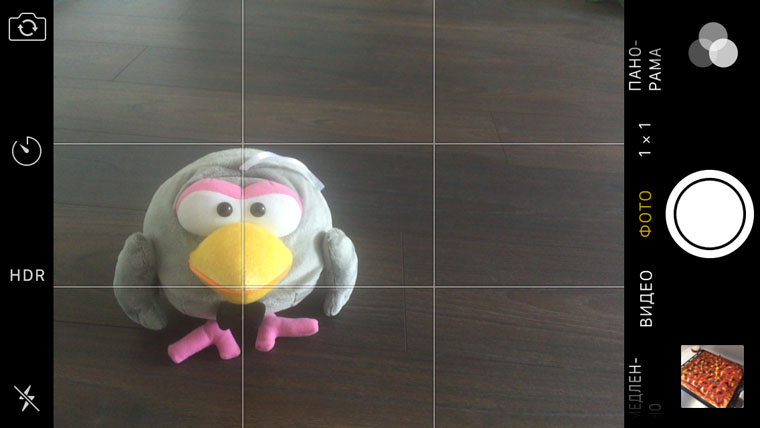
If we simplify everything to the maximum and remove information about the golden ratio and the Fibonacci sequence from the text, then the rule of thirds applies, to make every photo more interesting, dynamic and pleasing to the eye.
To do this, the main objects of the photo must be at the intersection of conventional lines dividing the frame into three parts horizontally and vertically.
To use this rule or intentionally break it, it is better to enable the grid (Settings - Photo and Camera - Grid).
2. Learn to use a timer

I use a timer myself in several cases:
- For group shots with a small tripod or something similar.
- To take a selfie from a monopod without buttons (as it turns out, there are a lot of them).
- If you really want to avoid blurring the photo (when you press the shutter button, your hand often twitches) and reduce the amount of noise.
But you can have completely different scenarios - you just need to use your imagination.
3. Know when to turn on HDR
In theory, HDR should be used in conditions of insufficient or excessive lighting.
Officially, when you turn on this iPhone features takes three pictures at once with different exposure steps and stitches them into one. This eliminates overly dark or overexposed areas of the photo.
In fact, the device most likely pulls out the negative aspects of the photo software. But they still turn out to be of better quality.
I almost always have HDR enabled..
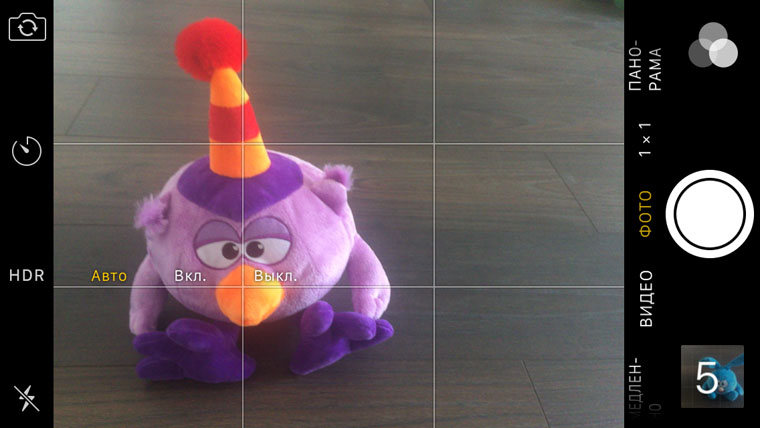
4. Remove the flash from the machine

You need to be especially careful with the flash on your iPhone. And, by and large, it is absolutely useless in the vast majority of cases.
At night it does not have enough power to properly illuminate the space. Therefore, even in the best case scenario, only a few faces will be illuminated.
And during the day, if you photograph against the sun, all objects will still be too dark - both with and without flash.
I see single use - text documents indoors “scan”.
But one can argue with this statement.
5. Try built-in filters

As it turns out, many people have no idea that the standard iOS camera has as many eight color filters- for them there is a separate button with three monochrome circles.
Each of them will be able to convey the desired mood through a photograph. Try it.
6. Forget about digital zoom
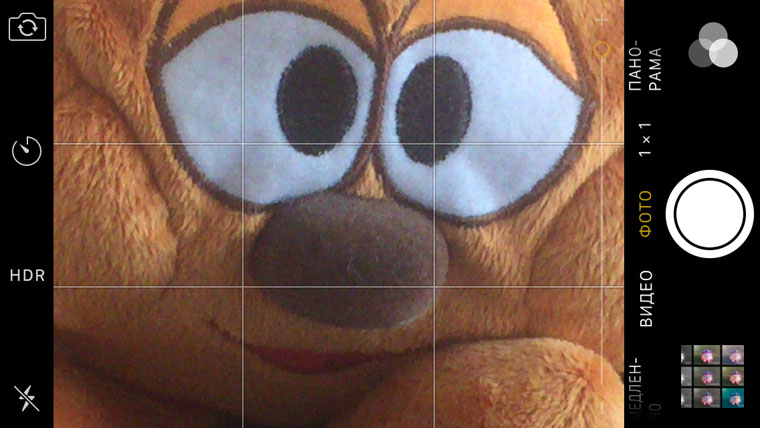
Never use digital zoom. It makes absolutely no sense.
In short, each pixel in this case is increased several times, which greatly reduces the image quality.
Perhaps with the advent dual camera in the iPhone 7 Plus/Pro the situation will change a little, but this is also hard to believe.
7. Play with Focus/Exposure Lock

To lock focus and exposure at a certain value, just make a long tap on any part of the photo.
Why is this necessary? In this case, you disable its automatic dynamic change, which will allow you to create really interesting shots, which never happen automatically.
8. Get to know the panoramas

To be honest, I myself use it quite rarely. It seems to me that such photographs are very inconvenient to look at - you need to enlarge and flip back and forth.
But many people like it.
9. Make a remote control out of headphones

If you use any additional accessories for shooting (for example, a tripod), be sure to learn how to use headphones instead of a remote control remote control releasing the shutter.
Any change in volume on EarPods and other headphones is new frame. And it can be very convenient.
Here simple script. You are using your iPhone on a tripod with flexible legs. “Screwed” means that it is attached to some pole or tree branch and it is already very difficult to get to the phone itself. This is where the remote control comes in handy.
10. Add all this extra. pieces

I've been photographing with iPhone for a very long time. And during all this time I came to the conclusion that additional software that tries to duplicate some interesting accessories rarely copes with it.
That's why don't be greedy, be sure to buy yourself a set of additional lenses, a tripod, a monopod and a couple of other interesting things for shooting.
It's worth it.
This is what you should get after a little processing:
Forget about “likes” and shoot for yourself
And further. Finally, forget about all these “likes” and so on. Photos are for yourself as a keepsake. I scroll back a few years in Google Photos quite often. The nostalgia is incredible.
Unfortunately, it often happens to Apple that versions of smartphones without the letter “S” in the name are not without engineering flaws. The iPhone 5 case was scratched and the power button often failed; the iPhone 4 had problems with signal reception cellular network etc. A couple of iPhone 6 and iPhone 6 Plus, as many of you may know, too, and today a new one has become known among the owners of these smartphones.

The problem was brought to the attention of colleagues from Business Insider, but discussions about it can also be found on Reddit, MacRumors and iFixit. Some iPhone 6 owners have noticed that their front-camera After using the smartphone for some time, it began to shift, partially disappearing from the window on the front panel of the smartphone. This often happens when the service replaces the screen on an iPhone 5 or, but in the case of the iPhone 6, this problem appears without internal intervention.

A Reddit user with the nickname spykeman1528 wrote that Apple smartphones with this problem are easily replaced with new ones. You may also be offered a screen replacement, which is intended to fix the problem, but they are still more willing to replace the device itself. On this moment It's unclear how many devices are caught with similar problem, but one thing can be said for sure: its location does not affect the quality of the front camera. Nevertheless, I advise you to pay attention to this.